How Do I use the SmartBoard in GCC 207?
A guide to using the Smartboard in Global Communications Center Room 207

Garrett Livingston
Last Update vor 3 Jahren
Note: Detailed articles about the specific technologies available in these spaces can be found at the bottom of the article

GCC 207 Smartboard Quickstart
Using the Smartboard with a Windows laptop
In order to connect to the smart boards, you will need the Kramer VIA app installed on your laptop/smartphone.
Inputs have changed to accommodate the touch functionality across as many devices as possible.
The list of inputs is:
HDMI 1: Kramer VIA wireless device
HDMI 2: Laptop HDMI
HDMI 3: Mac Mini
The necessary app can be found here or by searching for Kramer VIA App on google and selecting the correct version for your device.
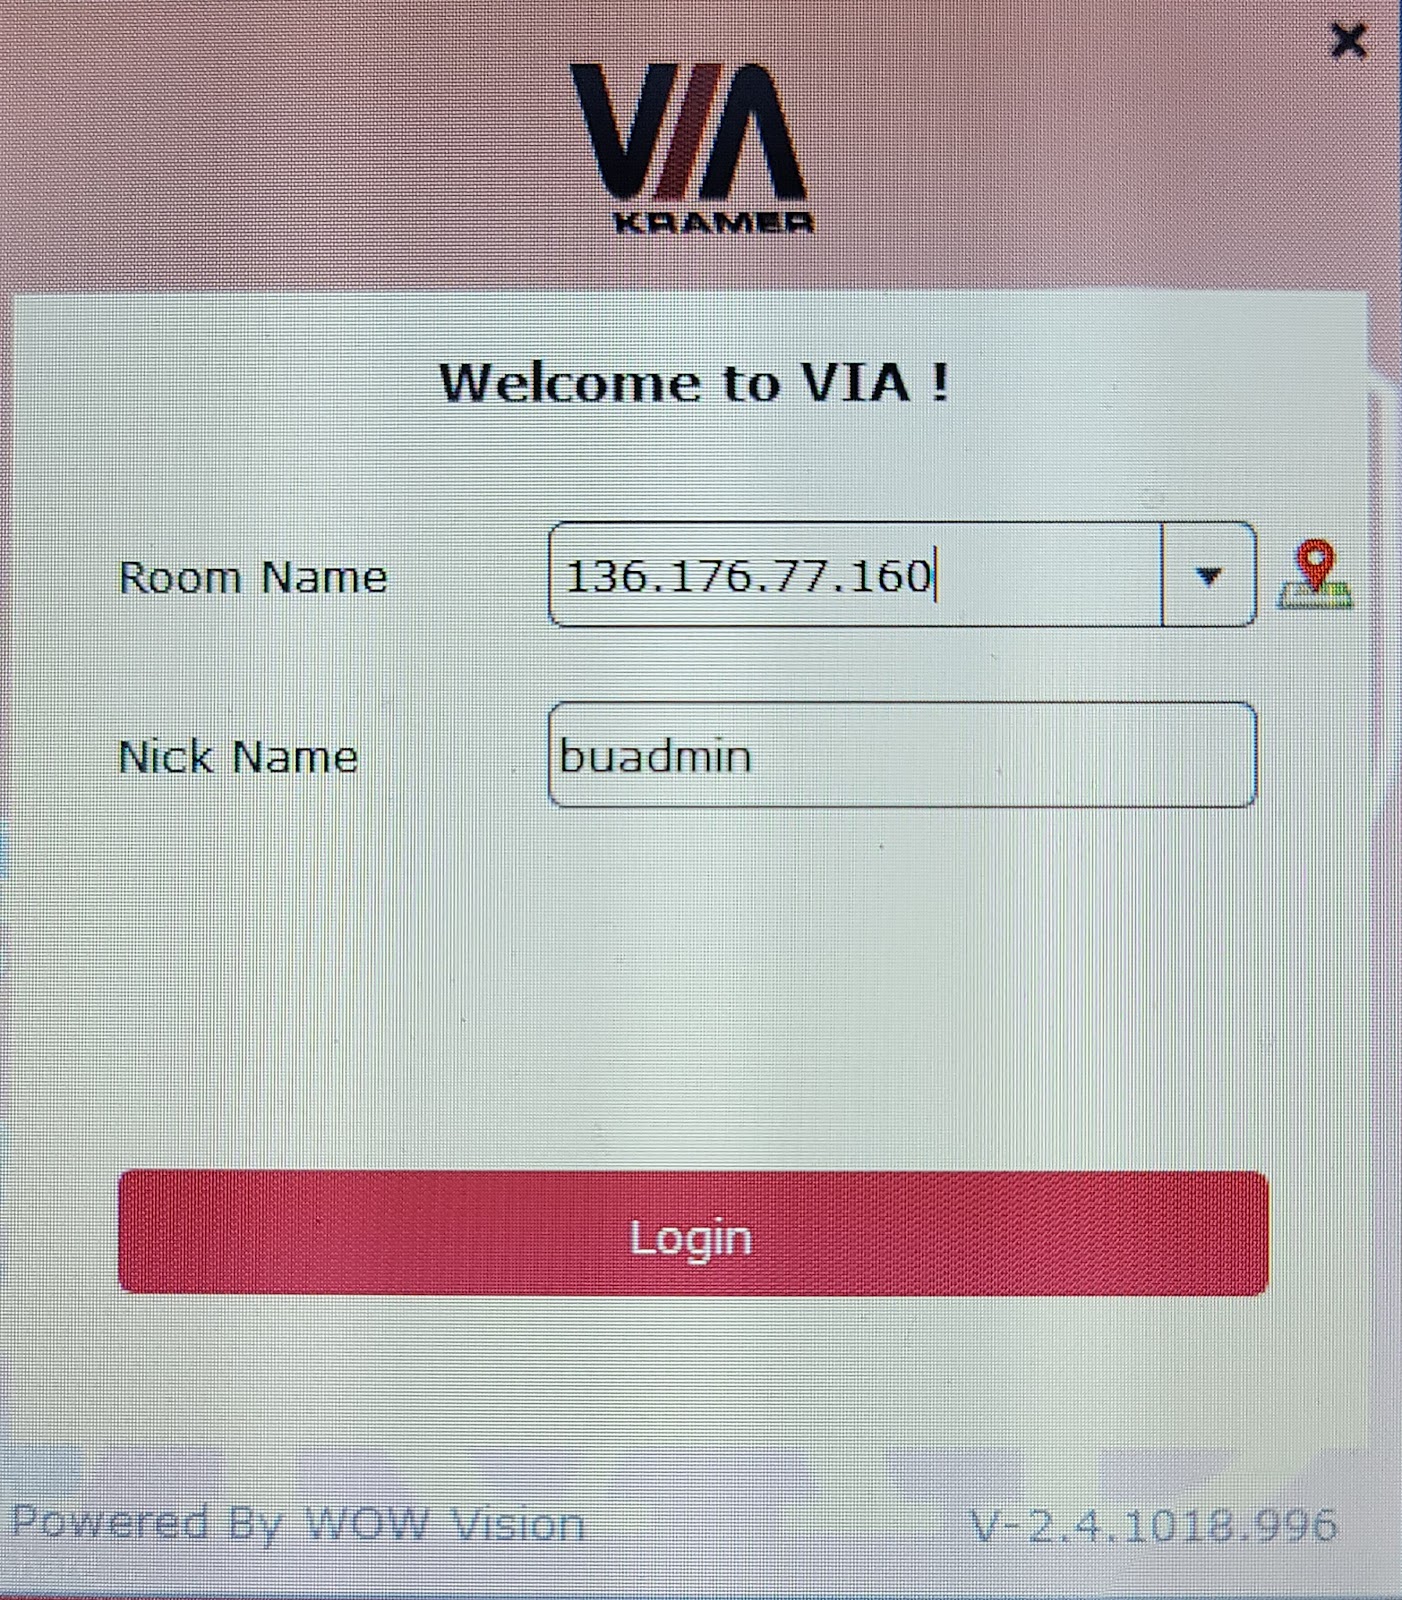
Once downloaded, you should open the app. You will come to a screen that asks you for the IP of the device.
The IP Address is 136.176.77.160
Once you connect to the device correctly, you will get a bar on your laptop with “Present”

Select the “Whiteboard” option under “Features”
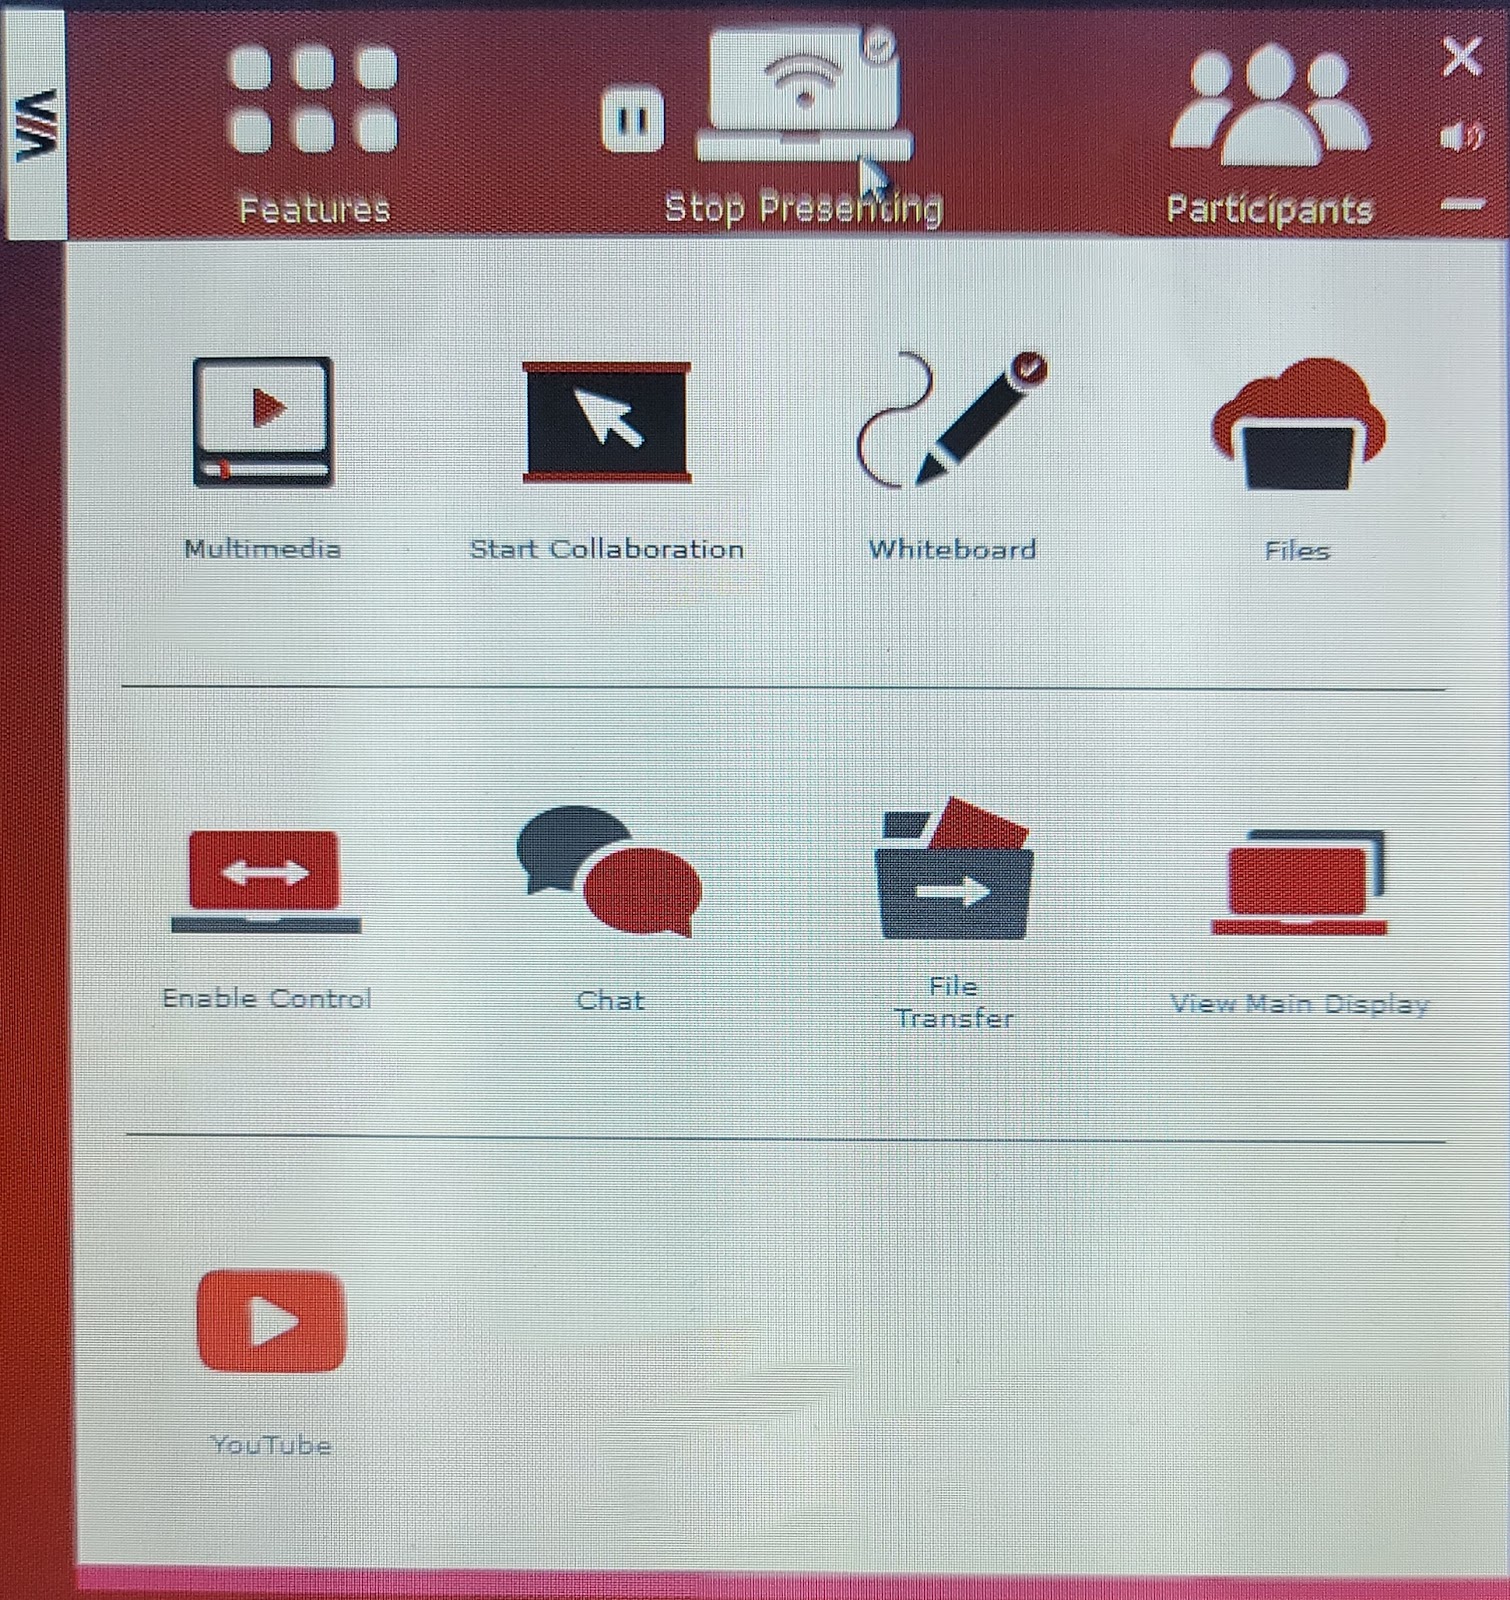
Just Click “Present” and then you will have other options under “Features” that you can select from.

A menu will appear on the smartboard Appear on the right side of the display where you can select various drawing tools, eraser, and various other tools.

Using the In-room Mac with the Smartboard
The In-room Mac Mini is set up to function with the smartboard.
All you have to do is turn it on, set the display input, and log in using your BU Credentials.
After you log in, the smartboard should function as your mouse and you will be able to annotate with the marker.
If you require further assistance, put in a ticket with AV Services at corona.bradley.edu and we will respond as quickly as possible. In the event of an extreme emergency, Call or visit GCC 209.
Related Terms: GCC, Global Communications Center, Projector, Screen, Monitors, Room 207, Caterpillar Global Communications Center